If you are a contractor and you have come to this site, chances are you have a customer who wants to install an infrared sauna. Below are some considerations in helping your customer to choose the right sauna for their space.
Commercial Infrared Saunas - What Contractors & Builders Need to Know

- Build with resale in mind Insights Into Remodeling A Home to include a sauna. It is important to find a balance between the wants and needs of your customer, the space available and its appearance in the room. Every Celebration Sauna has the ability to be easily knocked down and moved to a new location but if it is a significant feature of a remodeled bathroom we need to balance the sauna with the room to maintain market appeal for the home. We know the customer is always right but we certainly don’t want to encourage the design of a dream bathroom that no one will buy when it’s time to sell. Check out our infrared sauna buying guide for more insight on what the customer has in mind when buying their infrared sauna.
- Know your numbers Before you can help your customer choose a sauna for their space you will need to identify the amount of space you have. This will narrow your choices to a size category saunas: 1 Person Saunas, 2 Person Saunas, 3 Person Saunas, Corner Saunas, 4 Person Saunas, 6 Person Saunas, Commercial Saunas.
| Important Note: |
| When choosing a size you must take into consideration that you will need to be able to walk around the sauna in order to assemble it. All Saunas will require a minimum of 6 inches above the sauna to make the required electrical connections. Once Assembled, the sauna can be pushed up against the wall and requires no ventilation (Learn why here: Near infrared vs Far infrared). We do recommend that you leave access to the roof so the sauna can be easily serviced if repairs are required. |
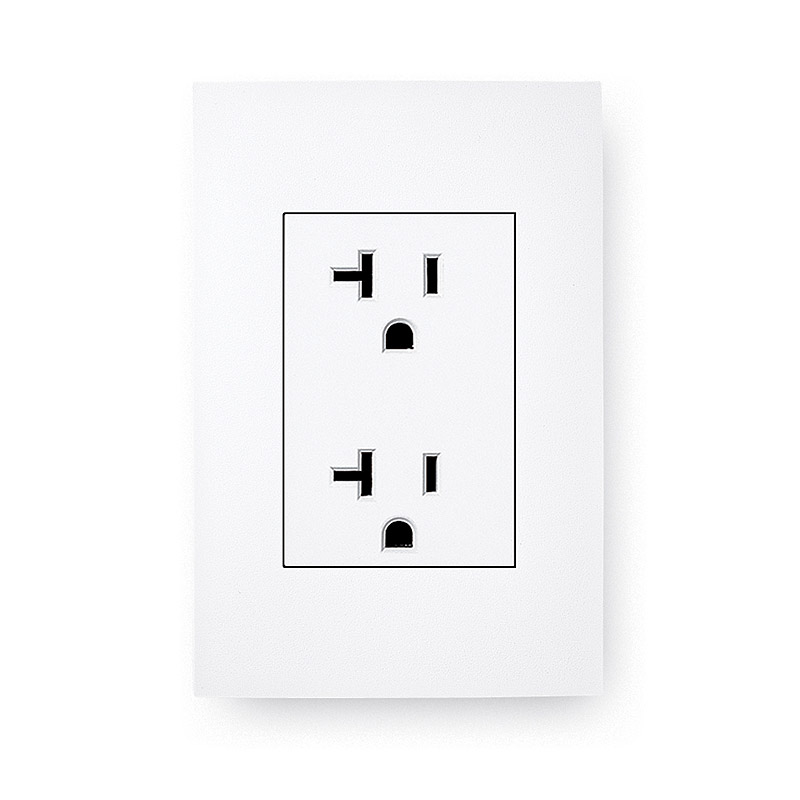
- What are the Electrical Requirements and what should I look out for?It is not only important to consider the size of the sauna but the available electricity for sauna use. All our one and two-man saunas only need a standard household outlet and 15 Amp circuit. Although not required, you should encourage your customers to dedicate a circuit to the sauna for optimal sauna operation. The power cord extends 9 feet from the power supply box located on the roof of the sauna to plug into a standard height outlet. Be sure that you can unplug your sauna. If you have the ability, we recommend putting the plug near the roof of the sauna for easy access.If your customer is looking for a larger sauna, our three and four-person saunas require a dedicated 120v/20 Amp circuit. This means there will need to be enough space for a new breaker in the breaker box to accommodate the electricity required to operate the sauna.

| Important Note: |
| The power cord extends 9 feet from the power supply box located on the roof of the sauna, above the door approximately 18 inches back from the roofline. If you are putting in a new outlet, it is recommended that you put the outlet near the roof of the sauna for easy access. This is, however, not required. Check out our guide to infrared sauna dangers to see what other considerations and concerns your customers have in mind that you may need to addresd. |
- Do I need to pull a permit?NO, In most cases a permit is not required to install a sauna. If you are remodeling your home, or if you need any electrical work that goes beyond repairing an existing wiring system. You will need a wiring permit anytime your project involves running new wiring, even if you are merely extending an existing circuit. The best policy is to call the building codes department and ask if there is any doubt. You do not need a permit if all you are doing is replacing a malfunctioning circuit breaker, receptacle, light switch, light fixture, or the like with a new one.
- What Does Installation entail?Installation of the sauna, once it has been received, is to simply unbox the panels of the sauna and stage them in the room where the sauna will go. When assembly begins, be sure to review the assembly manual or refer to our sauna assembly videos. You will always start by laying down the floor far enough away from the wall so you can move around the sauna. You will erect either the front wall or the back wall depending on the sauna model chosen and using male/ female guides to attach the side walls. Once the sauna cabinet is fully assembled you will need to place the roof on top of the cabinet. Here you will pull existing power cords and control panel connections available at the top of the wall through the roof to connect to the power supply box. You will have 3 to 8 of these connections depending on the size sauna chosen. Similar connections will need to be made beneath the benches into the back wall. Once you have made the connections you can install the bench, plug in the sauna and begin checking sauna functioning.
Sauna Assembly Video Guides
- Installation Completion Checklist
Once the installation of the sauna is complete and the sauna is plugged in follow the checklist below to ensure the functioning of the unit.- Power-on the sauna.
- Test all the lights by turning on both the interior and exterior lights and scrolling through the different colors of the interior light.
- Scroll the temperature up to 140 degrees. Be sure the control panel is set to read Fahrenheit.
- Set the time to the maximum, then run the heaters. While the sauna is still cold you will want to touch each heater to make sure you feel it warming up. If you allow the sauna to run for the full 90 minutes, which isn’t necessary you should see the temperature rise approximately 2 degrees per minute.
- Remove the pallet and packaging from the premises and Voila! Happy Sauna Customers! 🙂
- If for any reason you run into trouble simply call 855-728-6248 and ask for tech support.


